Downward Facing Dog Overview
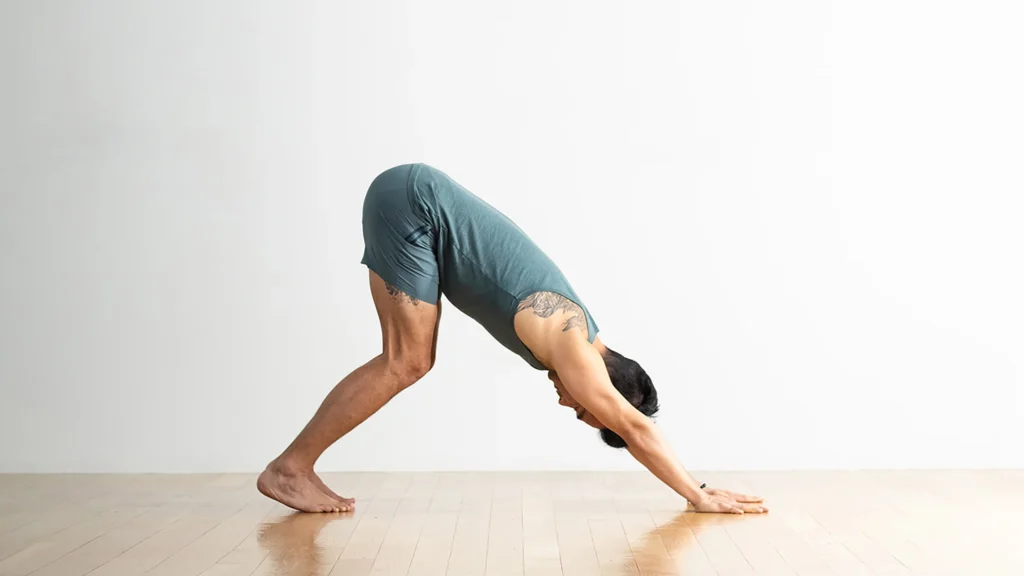
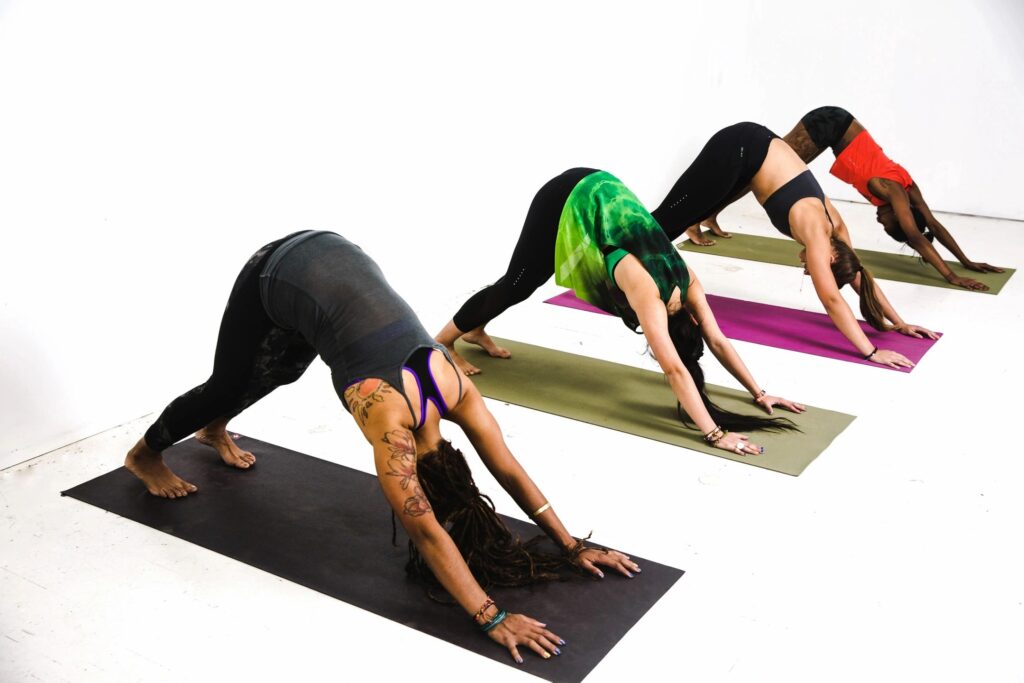
Also called Adho Mukha Shvanasana (Sanskrit: अधोमुखश्वानासन) Downward Facing Dog is an inversion asana, often practiced as part of a flowing sequence of poses. Known as the “quintessential” yoga pose, it is certainly one of the most popular and well known when people think og Yoga. In this article we will cover how to practice this post in five easy Downward Facing Dog Steps.
Downward Facing Dog is a pose that’s easy to recognize but often hard to get right. When attempting this pose, those who are new to yoga often run into issues like wrist pain or difficulty getting their heels to touch the ground. By reading this article, you’ll learn how to avoid the common pitfalls and perfect this pose.
1. Get Aligned
To start with, you need to set yourself up properly. Your hands and arms are really important here, especially if you struggle with wrist pain.
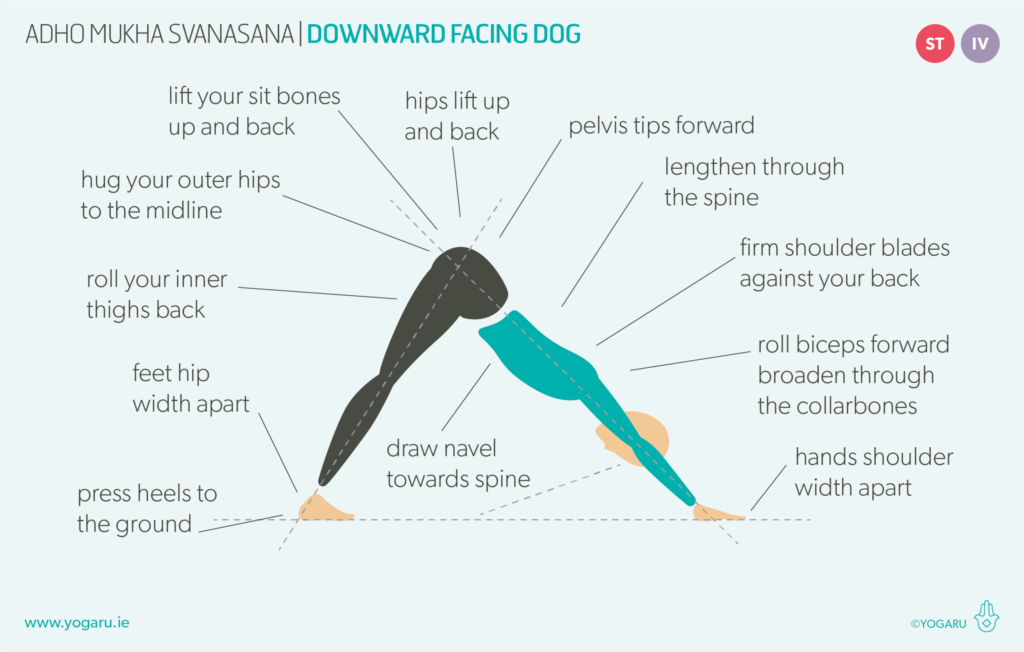
Start out on all fours, in a tabletop position with your hands directly below your shoulders. Now bring a lot of awareness to your arms. They should be rotating outward so that your elbow creases are facing forward.
Turn your attention to your hands, and try to maintain the same sensation of outward rotation. Many people find it helpful to imagine that they are opening a jar with each hand – clockwise with the right hand and counterclockwise with the left.
Make sure you aren’t putting all your weight on your wrists. Keep your palms and fingers as flat as possible so that your hands take the weight evenly.
2. Lift It Up
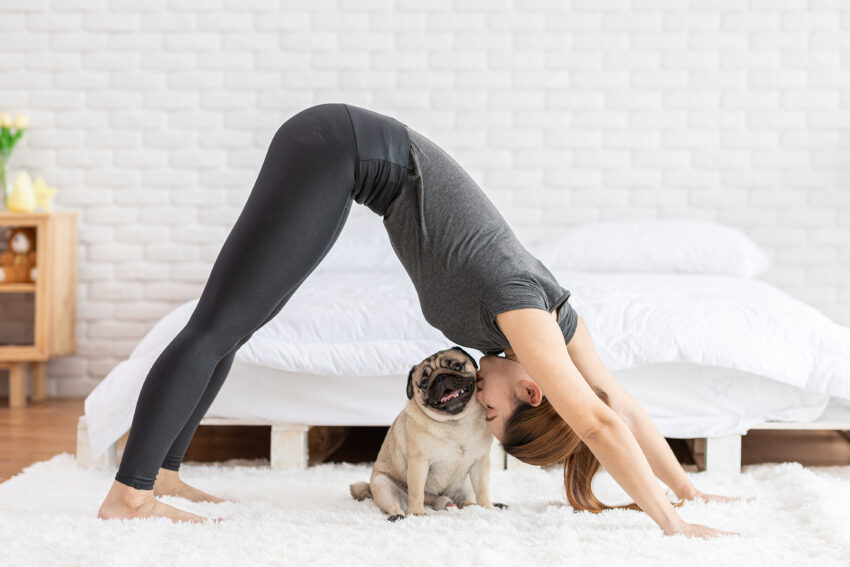
Now you’re ready to take it further. Slowly lift your knees and straighten your legs, until your legs and torso form an upside-down V shape. It’s really important that you continue to maintain that awareness and outer rotation in your hands and arms.
Those who are new to yoga often complain that they can’t get their heels to touch the yoga mat. The good news is, it doesn’t really matter! While the pose is traditionally done with the feet flat on the ground, this is impossible for most new yogis. For many people, it takes months or even years of practice to get to this point.
If your heels are nowhere near the mat, don’t stress about it – just relax and enjoy the pose. Keep practicing and one day you may find that your heels come down effortlessly!

3. Breathe
The breath is at the heart of yoga practice, but it’s too often treated as a side note. Once you’re in the pose, take deep breaths in through the nose and out through the mouth. If you can’t breathe through your nose for whatever reason – allergies, for example – then breathe in and out through the mouth. Try to breathe into your abdomen rather than your chest.

4. Walk Your Dog
If you’ve ever been to a yoga class, you’ve probably been told to “walk the dog” or “take your dog for a walk”. This means touching your heels to the ground one at a time in quick succession, creating a walking motion in your Down Dog.
This exercise is excellent for stretching out your calf muscles, and it will help you progress towards getting both those heels to touch the mat at the same time!

5. Try a Variation
Once you’ve mastered Down Dog, why not change it up a bit? The most common variation is to lift one leg to form a Three-Legged Dog. You can either keep your hips square, with your toes pointing straight down, or rotate your hips outward so that one is above the other.
Another option is to experiment with touching the knee of your raised leg to your nose. Don’t worry if you can’t quite reach – just give it your best shot.
Downward Facing Dog Conclusion
Many people are surprised to discover that Downward Facing Dog is considered a resting pose. When you first attempt it, it can feel anything but restful! But with time and practice, you’ll learn to find ease in the pose and it will become second nature.
Let us know your thoughts below! And be sure to check out our other posts!

